
What Equipment Do I Need to Record Myself Singing?
Recording your singing voice can be daunting at the best of times. So when it comes to the equipment you need, you're probably looking for the basics to get you started. To make it easy, I have listed the bare minimum required to build your own home recording 'studio'.
A USB microphone, headphones, computer and recording software is enough to record your singing voice. However, a quality recording requires a microphone, audio interface, computer, recording software, headphones, XLR cable and microphone stand. A pop filter and cable adapters may also be required.
I will explain below why I think you should consider the above items for recording your voice. I have also included my personal recommendations, including cheaper alternatives.
Note: This article contains affiliate links. If you find something you need, we appreciate the support.
5 Equipment Essentials to Record Your Singing
Below is the bare minimum required to produce a decent recording of your singing. There are certainly cheaper ways you could do this, but this comes at the cost of quality and professionalism.
For example, you could quite simply record yourself singing using an app on your phone. No extra equipment required. But I'm going to take a guess and say that's not why you're here. If you're serious about recording your singing voice, you should consider investing in the following equipment.

1. Microphone
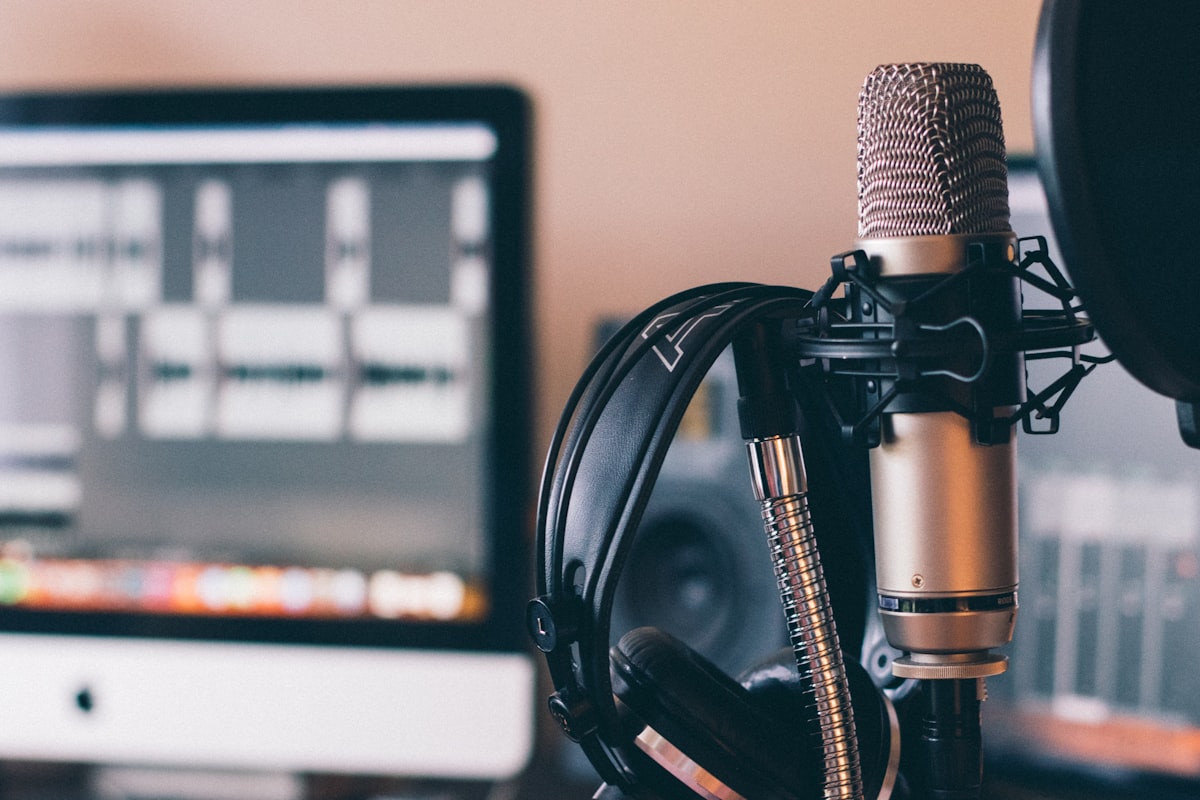
Having a microphone is essential to recording yourself singing and the best microphones for recording are condenser microphones. These microphones are more sensitive to subtle changes in your voice and capture the rich tone your voice has to offer.
Of all the microphones out there, I recommend the Rode NT1A (link to Amazon.com), which you can see pictured above. This microphone is a condenser cardioid microphone with no extra buttons or switches that can break over time. It is incredibly reliable and produces quality recordings.
For more information on the Rode NT1A or some cheaper alternatives, take a look at this article. As I mention in the article, there are still some shortfalls to this microphone, such as sibilance issues. However, these can be improved with strategic microphone placement and making use of the pop filter that comes with the microphone.
Overall, the Rode NT1A is the best value for money in the world of recording microphones, but you can buy whichever one suits your budget and your needs. For example, you could consider a less complicated USB microphone, such as the Audio-Technica AT2020USB+ (link to Amazon.com). For more information on USB microphones, click here.

2. Audio Interface
Unless you are using a USB microphone, an audio interface is essential to connecting a recording microphone. An audio interface basically converts the audio signal (your voice) into a digital signal that the computer can understand.
I would recommend something like the Focusrite Scarlett Solo (Amazon.com). The Scarlett Solo is a compact quality interface that also comes with recording software for your computer (Pro Tools).
While it is possible to connect a microphone directly to the computer with the right cable (XLR to 1/8" jack), this conversion is sub-standard. The resulting recording is usually very quiet or becomes distorted with noise.
In addition to this, most quality recording microphones, including the Rode NT1A, require specific external power to work. This power cannot be supplied by a computer, whereas an audio interface is specifically designed to deliver 24V or 48V to the electronic components in a condenser microphone.
Other benefits of an audio interface include gain control and audio output for your headphones. However, if you would prefer not to purchase an audio interface, you should opt for a USB microphone instead.

3. Microphone Accessories
With every microphone, comes accessories. You could go crazy buying all the latest gadgets for your recording setup, so I've stuck to the bare minimum. Here's why I think you need the following.
Microphone Cable
A standard microphone cable is called an XLR cable. Some microphones, such as the Rode NT1A, come with a cable for you to use. However, if you are purchasing a microphone that does not come with a cable, you will definitely need one.
Here is a standard XLR microphone cable from Amazon.com.
Keep in mind that you will need an XLR-mini jack (1/8") cable if you are plugging your microphone directly into a computer. If you are using a USB microphone, you do not need to worry about getting a microphone cable.
Microphone Stand
A microphone stand will allow you to position your microphone wherever you like. This is important for recording microphones because the sound is usually best picked up from the front and sides (if cardioid). Without a stand, it is hard to position the microphone so that you are singing into the right part of the microphone.
You should also never hold the microphone when recording because any slight movement of your hand will be picked up. Having the microphone on a stand eliminates any possibility of something touching it during recording.
Here is a standard microphone stand from Amazon.com.
Pop Filter (recommendation only)
A pop filter, such as this one (Amazon.com), is an attachment for your microphone that filters your voice before it reaches the microphone. The purpose of a pop filter is to reduce sibilance issues. This is when higher-frequency sounds are picked up by the microphone and punch through your recording, such as 'sh' and 's'.
This is an optional extra, but I think this is a great idea if you're buying a cheaper recording microphone. Even the Rode NT1A, which is higher quality than other microphones of this price, has trouble with these sounds (keep in mind that the Rode NT1A bundle already comes with a pop filter).
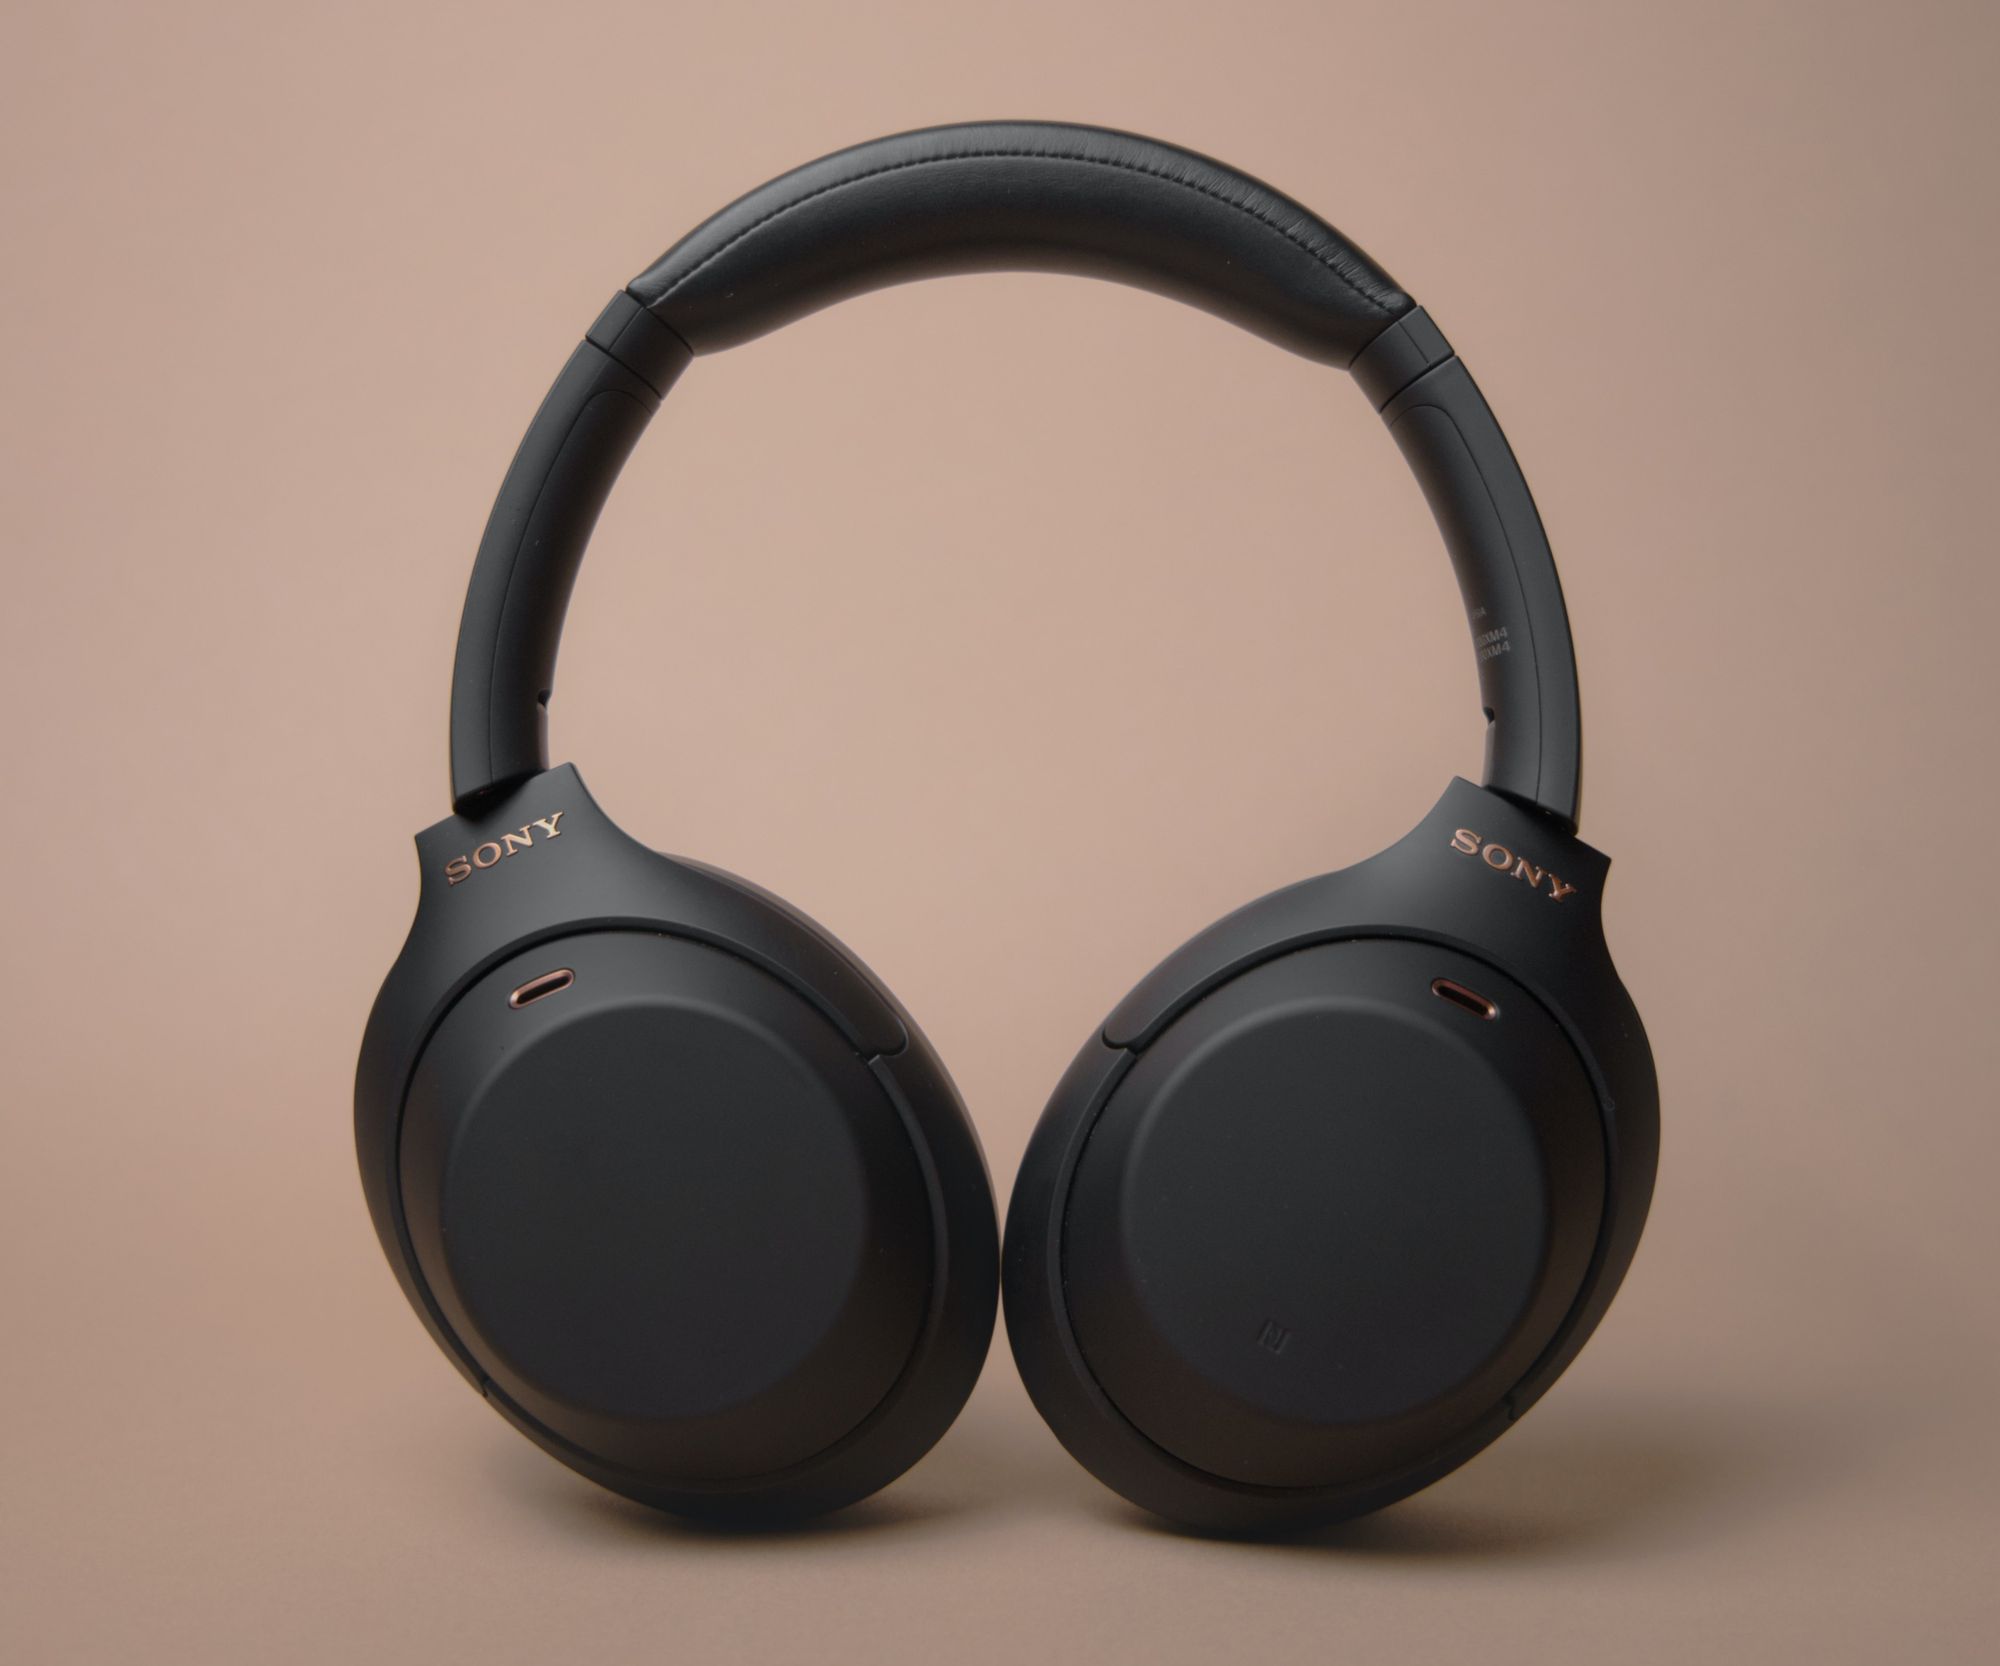
4. Headphones
You will need headphones to listen to your recording, and to hear the backing track while you record. The best headphones for recording are noise-cancelling headphones so that no sound coming through is picked up by the microphone. Noise-cancelling headphones will also allow you to hear everything in your recording.
For a quality pair of headphones, I would recommend the Sony WH100XM4 (Amazon.com) wireless noise-cancelling headphones. These headphones come with a cable so you can still plug them into your audio interface, but are some of the most comfortable headphones I've ever worn. They also seem to be one of the only models that truly drowns out other sounds when you play music.
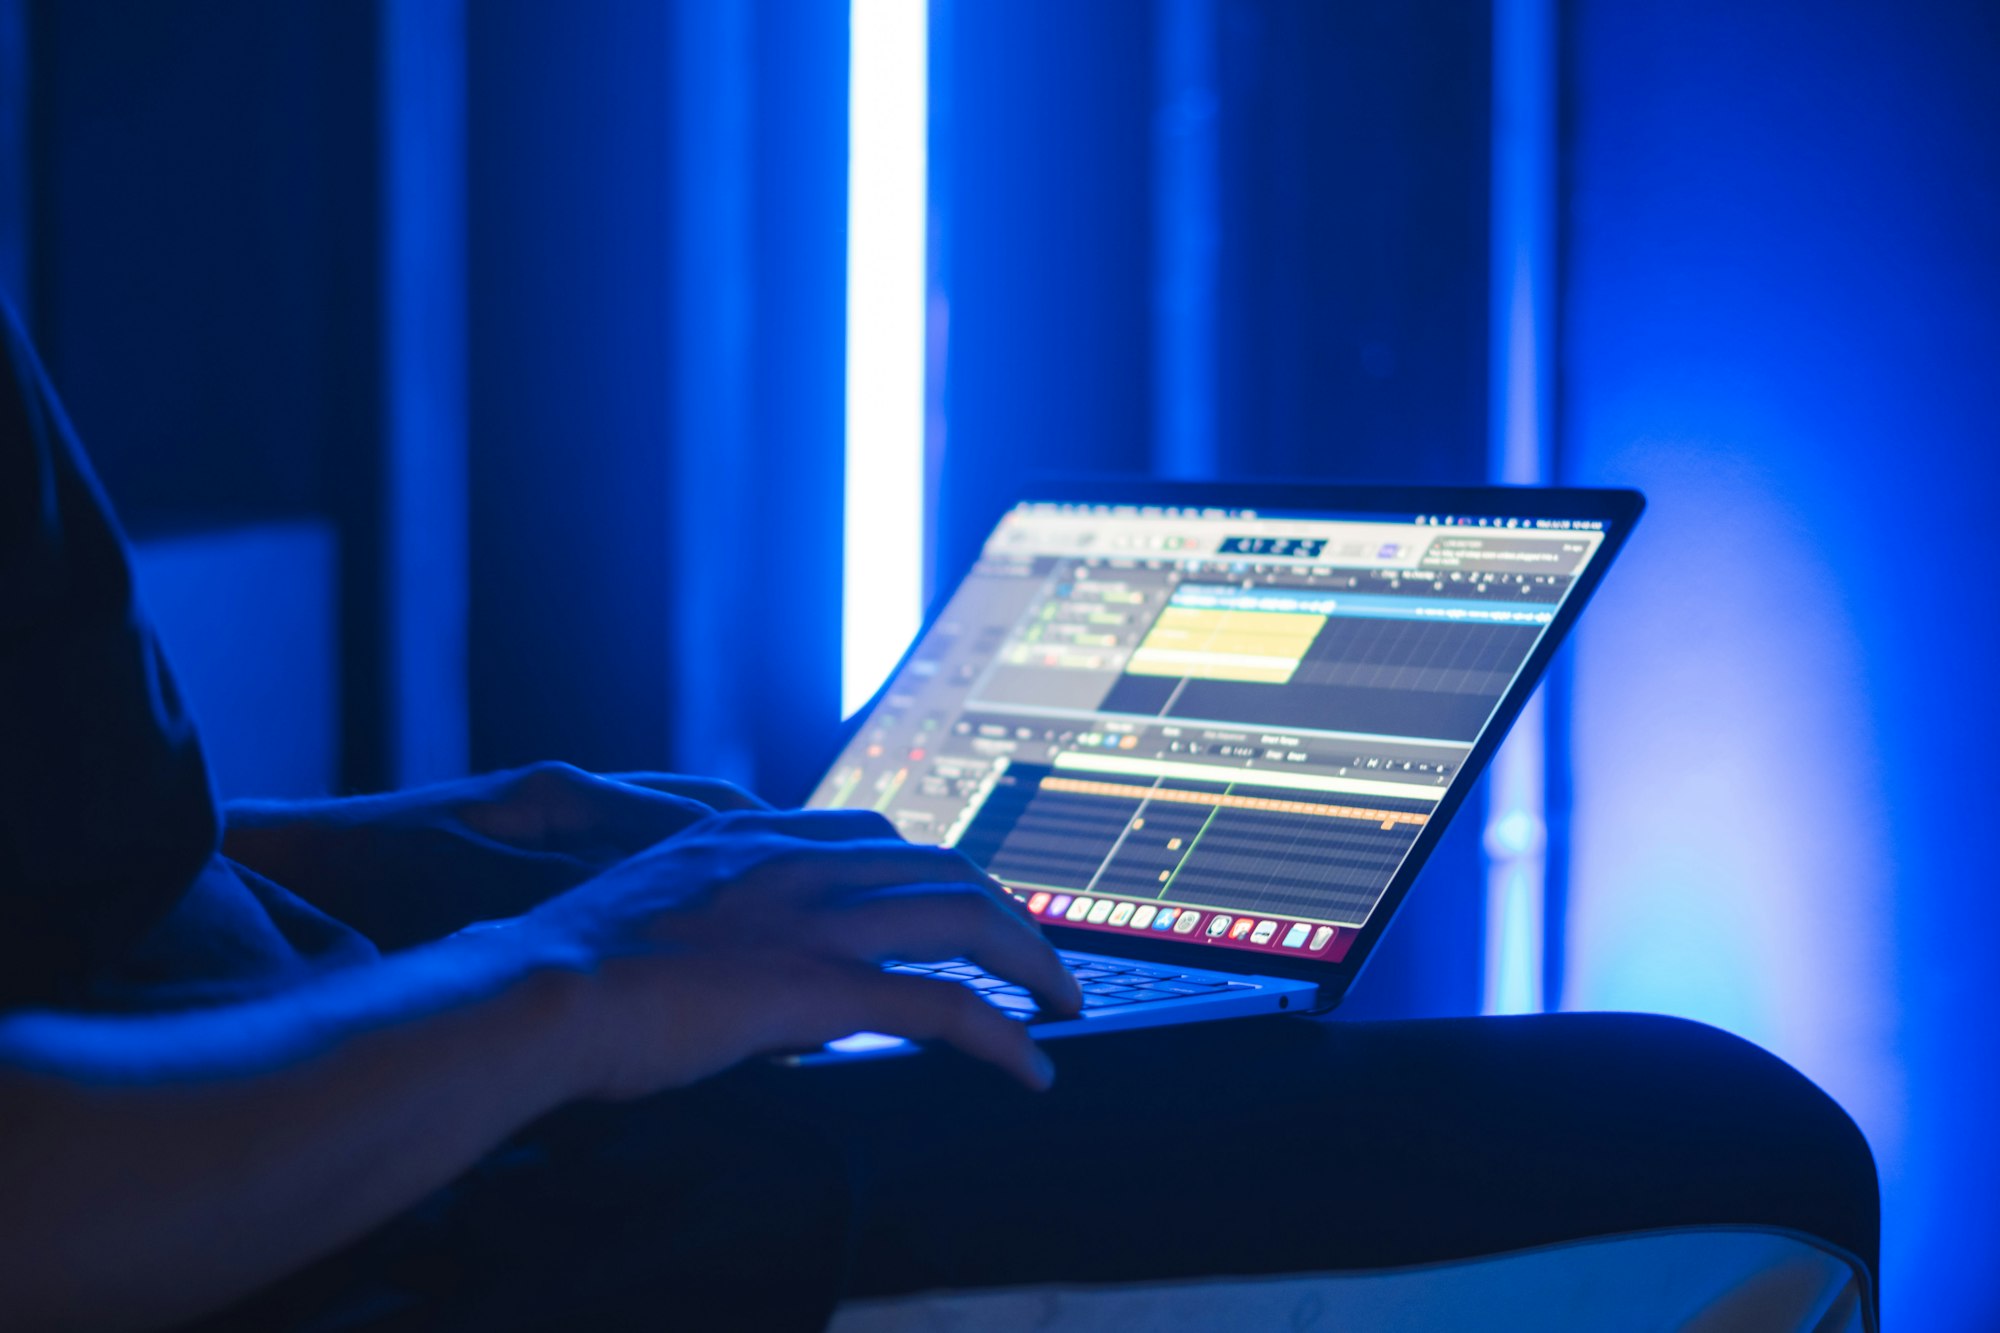
5. Computer
Most people already have access to a computer at home, whether it's for school, college, work or just for personal use. For voice recording, you should really have a computer that can handle processing audio data and storing your files. Below is a general guide to the minimum requirements:
- 500GB-1TB storage space (or an external hard-drive for storage)
- At least 4GB of RAM
- At least an i5 core processor
Whether you have a Mac or Windows computer doesn't make any difference, as long as you have enough processing power and space. I recommend a Macbook Pro for audio recording, simply because it is reliable, fast and incredibly portable. I recently converted from PC to Mac, and I'm definitely a fan.
Here is a link to the Macbook Pro on Amazon.com with enough specs for what you're looking for. A Macbook like this offers higher specs (will run even faster and have more storage space for your recordings), but is around $1000 more.
Recording Software
You will also need to download music recording software. The professional software companies offer more freedom in editing your recordings, which puts less pressure on you to sing a song through perfectly. This software is known as a DAW (Digital Audio Workstation).
Within the realm of professional recording software, I recommend Pro Tools. You should trial the free simplified version of this to begin to see if you can handle the interface. This is called Pro Tools First. Some people may find it too confusing, but if you are dedicated and learn through various tutorials, you will have so much more freedom.
If you don't like the complexity of the professional recording software, you can go for something like GarageBand for Mac or Cakewalk by BandLab. These are also free, which is a big bonus!
Keep in mind that some other accessories, such as the Scarlett Solo audio interface, come with free professional recording software. So it pays to explore all your 'bundle' options first before purchasing each pice of equipment separately.
Adapters (if required)
Keep in mind that some computers (mainly Mac computers) have limited input/output sockets. For this reason, you may need to invest in adaptors to suit your computer so that you can plug your audio interface or microphone into the computer. Make sure you can connect your headphones as well.