
Busking Equipment for Singers: What You Need to Get Started

Busking is a fun and exciting way to get some experience or make some money on the side. But it can also be daunting and it's hard to know what you are going to need if you've never done it before. In this article, I will run through a list of essential equipment to get you through your busking gig, but here's the list upfront.
- Microphone (Shure SM58)
- Microphone Stand
- Backing Music
- Amplifier (Roland Cube Street EX)
- Money Box
- Other Small Considerations (stool, water, phone, etc)
I have outlined what to look for in this equipment below. You will also find a few tricks of the trade that you may not have thought of already.
1. Microphone

Unless you can project your voice above the noise of a busy street or shopping mall, the first thing you'll need is a microphone. This will allow you to still be heard, regardless of whether you're singing low and mellow or loud and proud.
Finding a dynamic microphone is best because these are designed to suit live performance (compared to condenser microphones, which are used for recording).
For busking, I would recommend the Shure SM58. This microphone is incredibly reliable and conveniently priced just under $100. It isn't the newest model in microphones and I wouldn't use it on a professional stage, but it is the industry standard and has a great reputation.
The sound quality is great for the price and all you will need in the busy setting of busking. It also has metal casing, no buttons and no batteries (none required). This makes it very hard to break and very reliable. I have personally seen these microphones thrashed by school students and still survive.
2. Microphone Accessories
There are a few accessories that you may need with your microphone. Some are essential, others are my recommendation. But if money is a bit tight, go with what you can afford.
XLR Cable
Most importantly, you will need an XLR cable (like this one). This is a standard microphone cable, which is essential to connect the microphone to the amplifier. Your microphone is essentially useless without this cable.
I recommend at least a 10ft XLR cable to give yourself a little bit of room to move with the microphone. Otherwise you'll be connected to your amp by a very short leash.
Microphone Stand
A microphone stand is non-essential, but very handy. If you like to use your hands, or are playing another instrument, a stand will give you both hands free. I find it handy if you need to take a meal or drink break. Leaving the microphone on the stand prevents damage from being left on the ground where it can roll or get scratched.
Here is a basic microphone stand with a carry case and cable clips included.
Wind Shield
A wind shield helps reduce background noice being picked up by the microphone. SM58 microphones have a cardioid polar pattern, meaning they are designed to limit background noise coming through the microphone.
However, when singing outdoors, wind can be a big problem. Imagine the sound of the wind coming through those old tape recordings - but coming through your amp. Having one of these wind shields over your microphone will allow your voice to cut through, but will just help with wind, pops and other harsh sounds.
3. Backing Music

Unless you want to sing 'A Cappella', you will need to have some kind of music backing organised.
Live Music
Live backing is definitely a crowd favourite as it gives your performance that extra edge. Below are some common accompanying instruments for singers.
- Acoustic guitar (with a pickup/cable and shoulder strap)
- Electric guitar (with cable and shoulder strap)
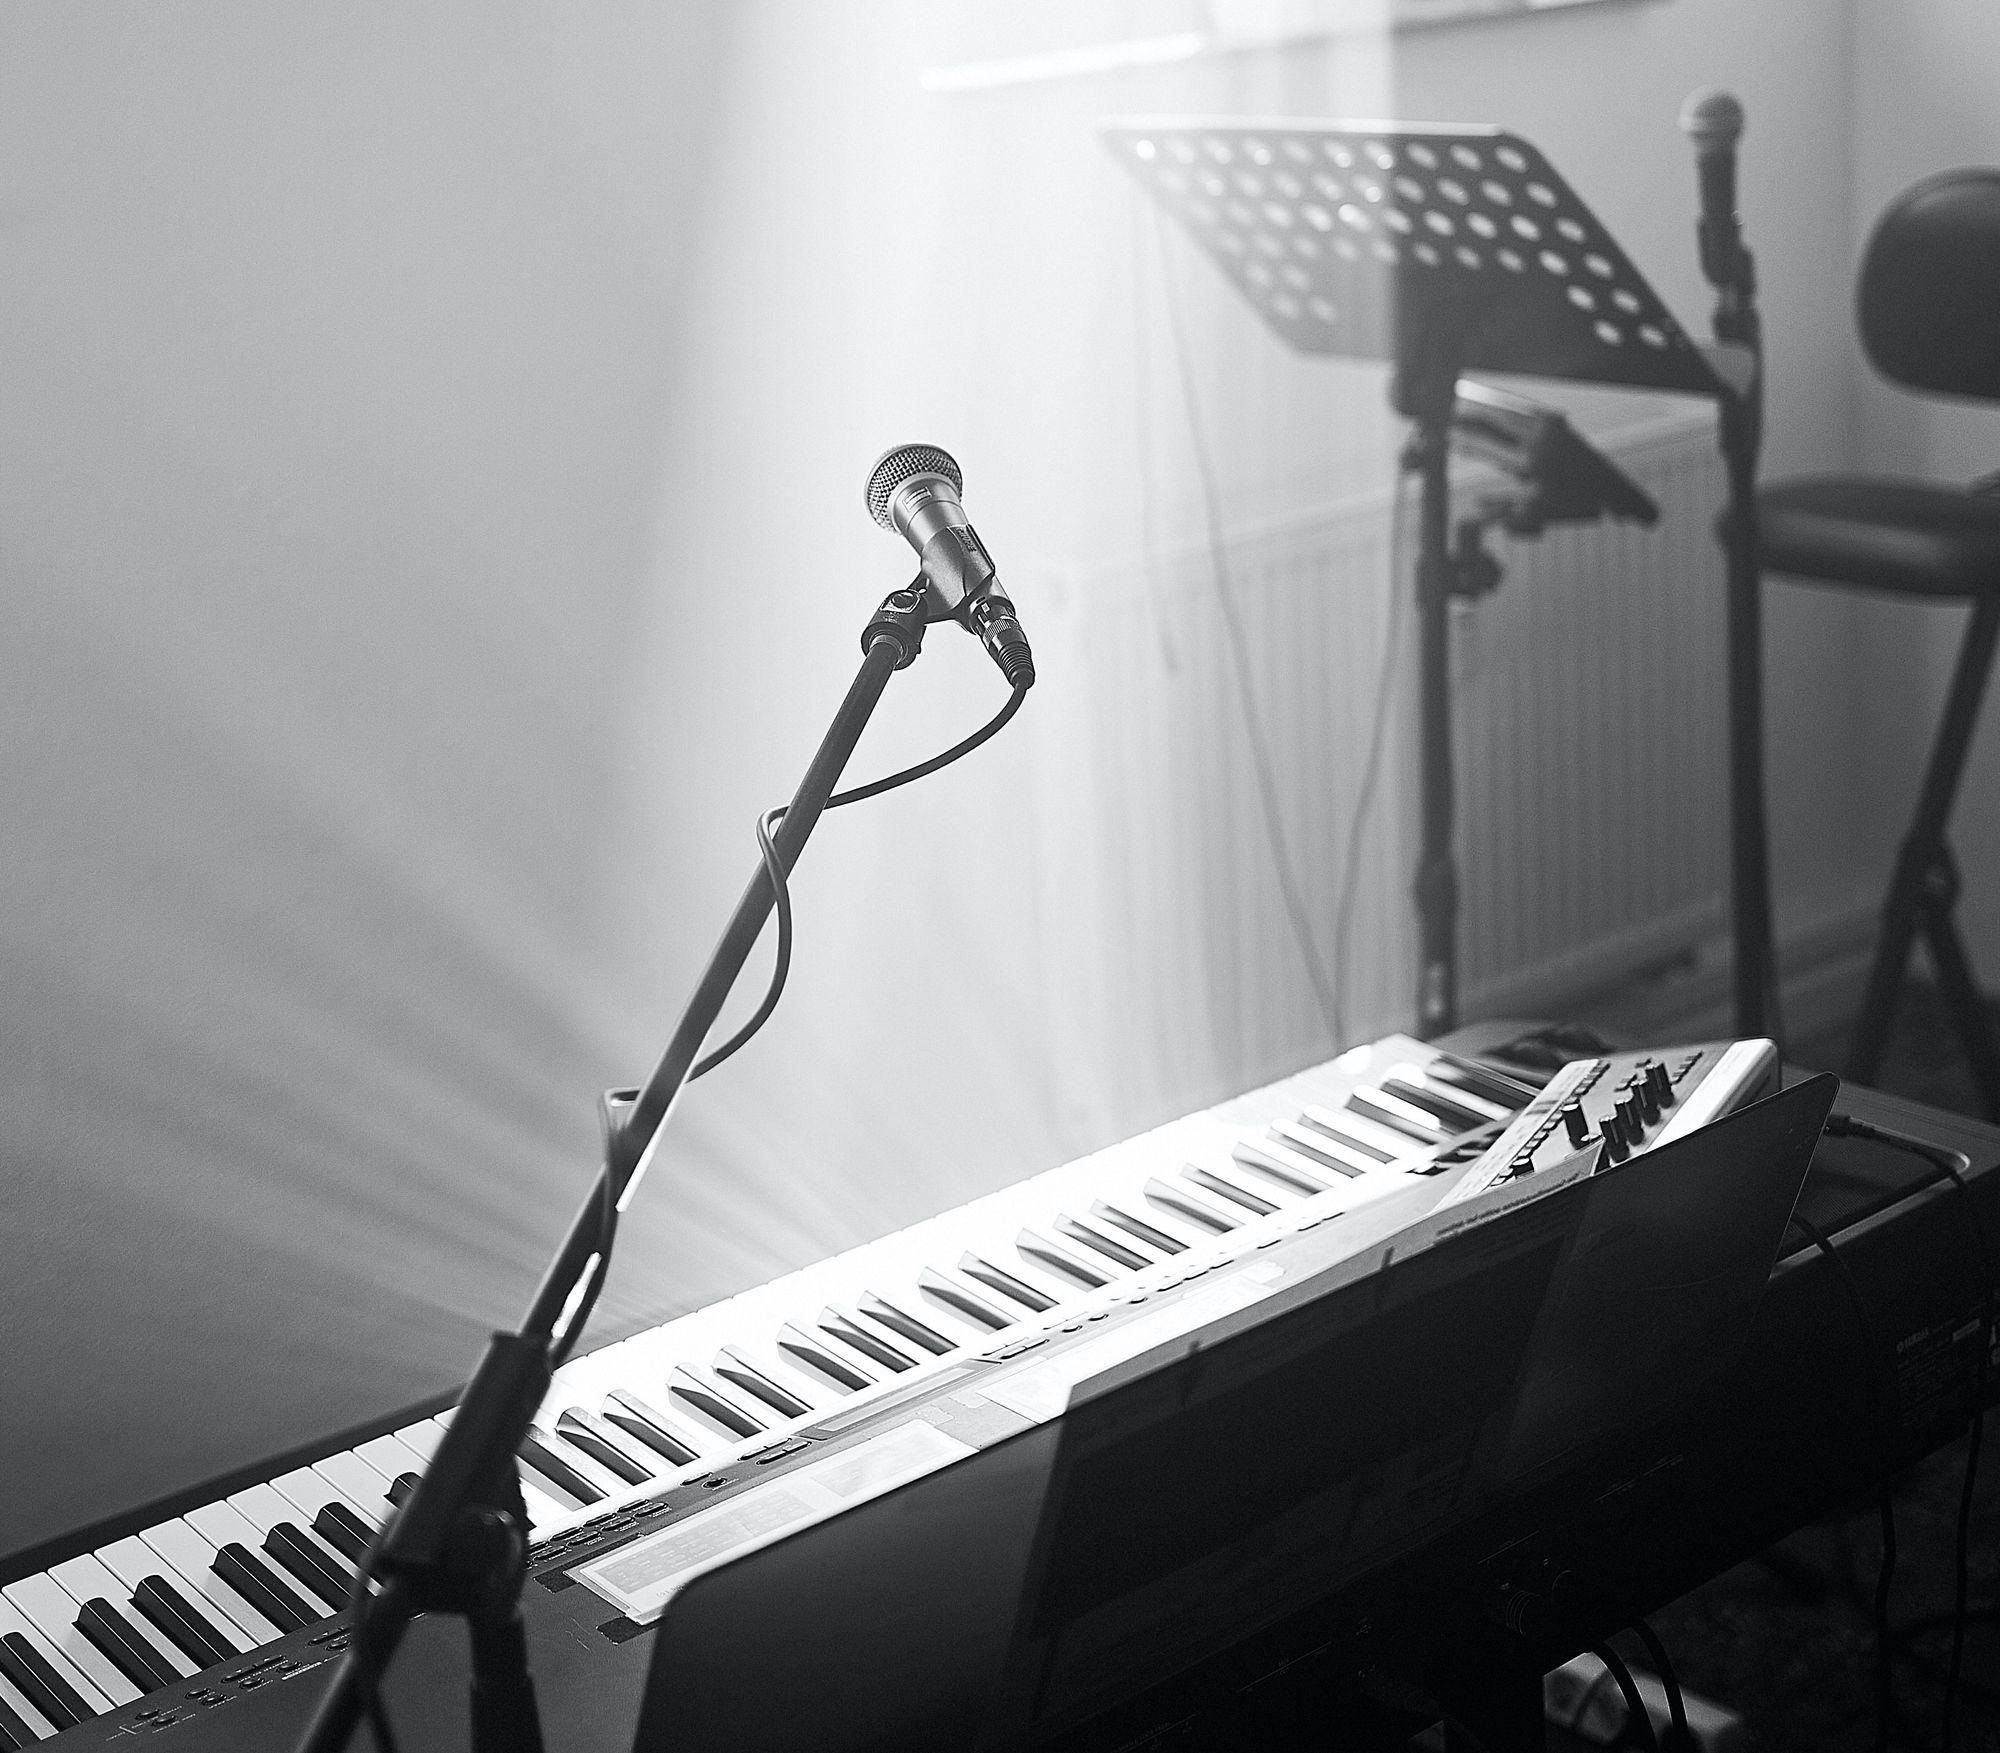
- Piano/keyboard (with stand, cable and sustain pedal)
- Ukulele (with pickup/cable)
If you go with this option, you will need to know how to play this instrument well enough that you can concentrate more on your singing (doing two things at once can be tricky!). You will also need the instrument itself and any accessories that go with it (particularly to connect it to your amp).
If you can't play another instrument, you could also recruit a friend or family member to play the instrument instead. However, keep in mind that they will probably want a cut of the money you earn.
In saying that, sometimes you won't have another musician handy, won't want to split your earnings or can't play another instrument. In this case you should look into using backing tracks (see below).
If you're feeling adventurous, take a look at my article on how to accompany yourself on piano.
Backing Tracks
Using a backing track simply means you are singing along to a 'karaoke' version of the song. You will need a digital copy of each song in your set list, without lyrics.
You can either download these (eg. through iTunes), or use an online karaoke service such as KaraFun (just make sure to download your songs so they're available offline).
Of course, you also will need a laptop or music player to play the music, and plug this into the amp using a cable. Music players can include a CD player (if you burn the songs onto a disk) or MP3 player (such as an iPod).
4. Amplifier
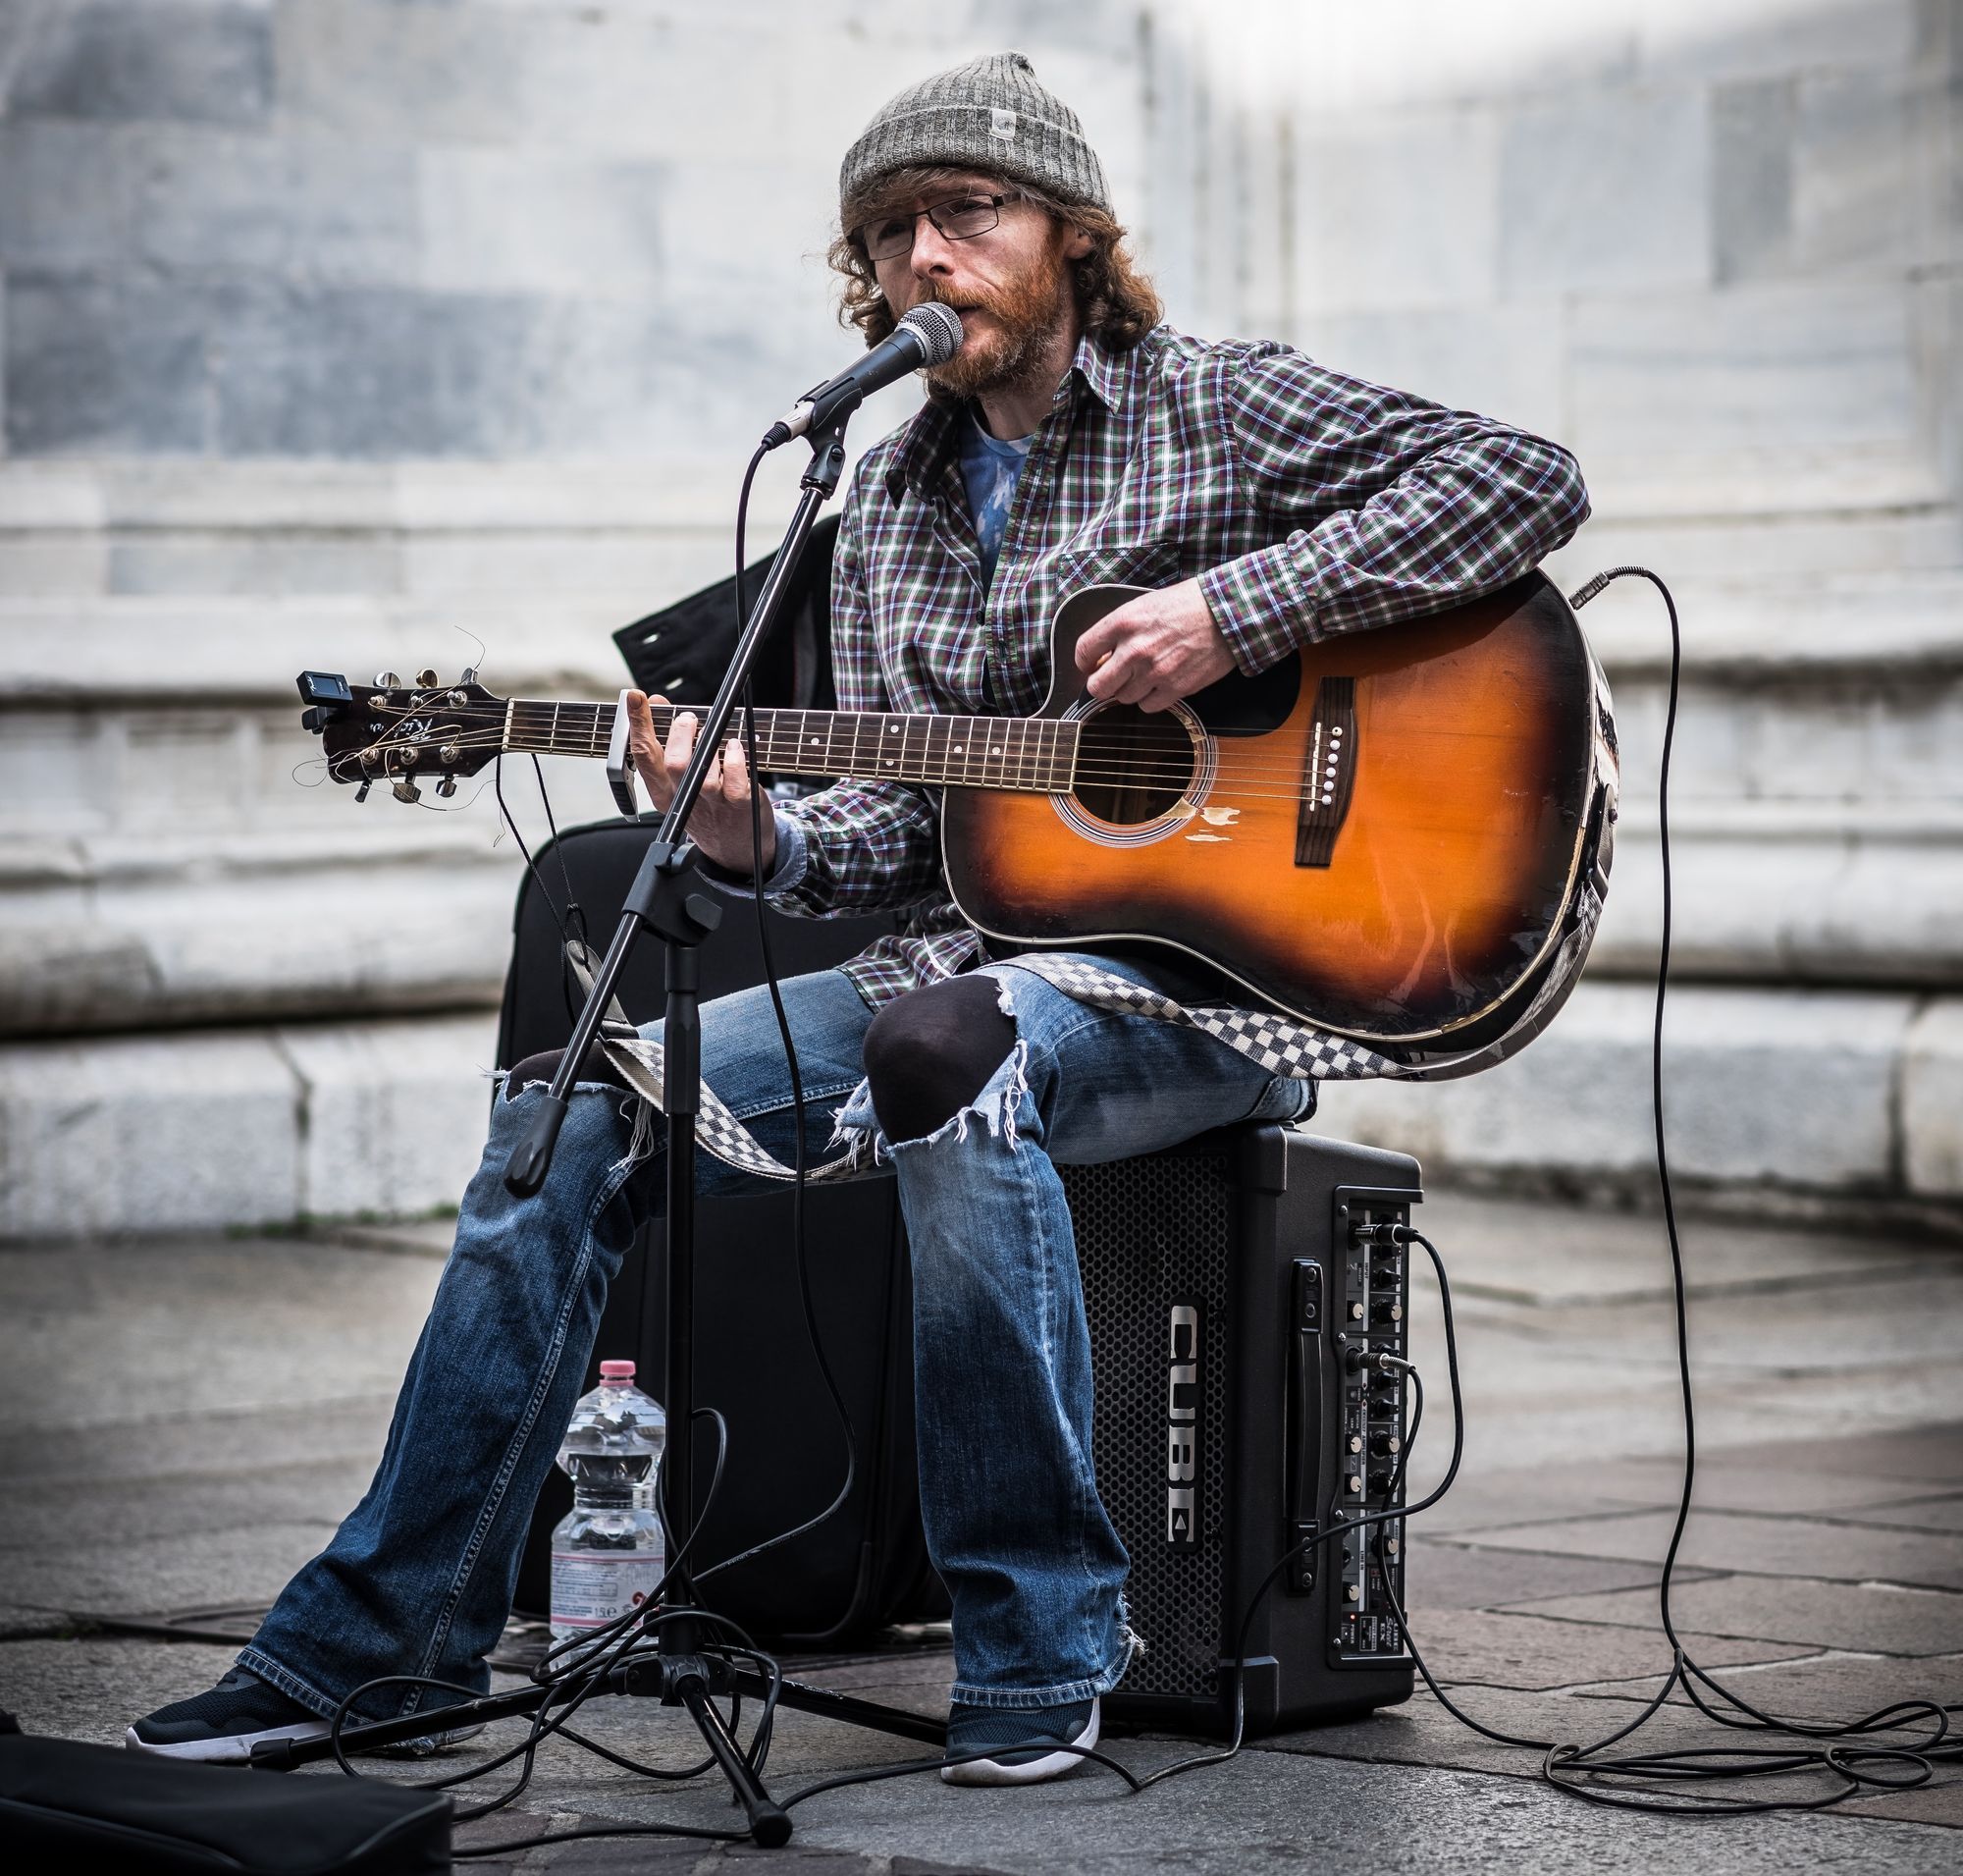
When choosing an amplifier, there are a few things your should consider, which I will explain below. Overall, I think the best amp for buskers is the Roland Cube Street EX. This amp is powerful enough to fill a crowded space and is designed for the needs of the busker. This is also why the 'Cube' series is one of the most popular on the streets.
If you're after a cheaper option, there's always the less-powerful Boss II (the rebranded Cube Street II). This is almost half the price and is a newer model of the original Roland Cube Street.
Number of Input Channels
Your amp should have enough input channels for your individual setup. You will need at least one input for your microphone (XLR input) and one input for your backing. This can be either a jack input for an instrument or an AUX input for your MP3 player/computer.
I like the design where the input channels are located behind the amp or away from the speaker. The speaker will be facing the audience, so this just keeps things looking neater and hidden away.
Power/Watts
Watts (W) are a measure of the power in an amp. This directly correlates to the volume in a busy busking setting. At a bare minimum, you should be using at least 25W watts to cut through background noise. However, anything above 40W is ideal, particularly for larger venues. The Roland Cube Street EX is 50W, whereas as the Boss/Cube II is only 10W.
Sound Quality
Have a listen to the sound of the amp when you test it out for the first time. If buying from a store, you can usually test the amp in-store before you make the purchase. If buying online, you will have a period of time where you can test it out and return it if you're not happy. Everyone has different sounds they prefer, so just make sure it's right for you.
Portability
Check the weight of your amp. If you're walking around with all your equipment, you don't want to be carrying a large heavy speaker on top of everything else. One consideration is buying a carry-case that you can hang over your shoulder or carry on your back.
Power Supply - Batteries
As a busker, you may not have access to a powerpoint. This means everything electronic needs to have some kind of battery-powered feature. Many singers and musicians that use the Cube Street EX (which uses 8x AA batteries) will buy quality rechargeable batteries so they don't have to keep buying more.
Fully-charged batteries will last 5 hours at maximum power (50W) or 10 hours at half-power (25W). If you're in a small venue, you could scale down the power to 10W and your batteries will last around 20 hours. Any of these options should give you enough time to get through your gig, but it doesn't hurt to have some extra batteries as backup.
5. Money Box
Don't forget that the money you earn from busking needs to go somewhere. People need an obvious place to throw their coins/notes. This can be a hat, guitar case, open box, tin, etc.
You also need to set the scene. Put a small collection of change in the collection tin so people know that's where it goes. Make sure to throw a note or two so people know that you like getting notes as well as coins!
Another important thing to bring is a safe place to store your money if it starts to build up. Place the excess in a purse or wallet hidden away. At any given time, you should only have a small/moderate collection of change in the money tin to avoid theft and also to encourage people to contribute. Some people may not be as willing to donate if they see you have plenty.
Finally, keep everything close to you so it's not easy for someone to grab and run off with your hard-earned cash!
6. Other Small Considerations
There are a few extra things that you might want to consider bringing with you to your busking gig. You can pick and choose whatever you deem necessary for you.
- Stool to sit on
- Water
- Phone (charged) so you can call someone if you need help with something
- Music stand (if you want lyrics or sheet music readily available)
- Extra cables (eg iPhone/Macbook adaptors)
- Extra batteries (for amp or microphone - although most mics are self-powered by the amp)
Keep in mind that there are a number of things you will need to do before you can busk in the streets or in a shopping mall. Take a look at this article for a detailed guide to get you started.