
How to Record Singing at Home: 7 Steps you Shouldn't Forget
Recording in a studio isn't an option for everyone and some people even prefer the relaxed environment of home-recording. For this reason, recording singing at home is a popular choice for singers, and one that can be done well. In this article, I will walk you through exactly how you can record your singing at home.
In order to record your singing at home, you will need the right equipment and a room setup for recording. When recording, you should do a sound test beforehand and have a backing track to sing along with. You should then record the song 3-5 times and edit your vocal track with a DAW program.
Below you will find a 7-step process to recording your vocal at home, starting from getting your equipment to post-processing your recordings. Small details like running a sound check will make this process much easier and enjoyable.
How to Record Vocals at Home
Follow these seven steps to record your vocals at home, without the hassle of making 'rookie' mistakes.
1. Equipment Checklist
As I mentioned in this article, the bare minimum you need to record your singing voice is a USB microphone, headphones and a computer with recording software (alternatively you could use your phone).
I recommend going the step up and getting some good equipment up your sleeve. not only will it sound better, but it will also last longer (the cheap stuff doesn't last very long). With that said, here is a list of essentials for a decent home recording setup.
- Microphone
- Audio interface
- Microphone accessories (XLR cable, stand, pop filter)
- Headphones
- Computer with recording software
You can find my top picks for each of these here.
2. Treat Your Room for Vocals
Next you will need to treat your room for vocals. Many people think they can skip this step, but this will be the difference between a home recording and a great recording that was done at home. Some benefits are:
- Reduces background noise such as echoes
- Vocals are easier to work with in DAW (a 'blank canvas')
- Improves quality and clarity of vocals
- Level frequency response on the recording
You can find out more about how to treat your room for vocals using acoustic panels here. You can even make your own acoustic panels for much cheaper than their retail price.
3. Organise a Backing Track
Unless you are recording an A Cappella song, you will need a backing track to sing along to when you record. Listening to the backing track will keep you in time with the music and help you feel the mood of the song.
You can either have this playing through the DAW (Digital Audio Workstation) on your computer (if you have imported it as another track), or you can have it playing on a seperate device. If you listen to it on another device, such as an MP3 player, you will just have to match the music to the voice recording later.
You can import any backing track into most DAW programs, such as a karaoke backing you have downloaded (keep in mind your usage rights). Some DAWs like GarageBand even allow you to create your own instrumental backing from digital instruments or pre-recorded loops.
Point to Remember
The important thing to remember is that you shouldn't be able to hear the headphones in the recording. Having a quality pair of noise-cancelling headphones, such as Sony's WH100XM4, will make sure the sound doesn't escape your ears.
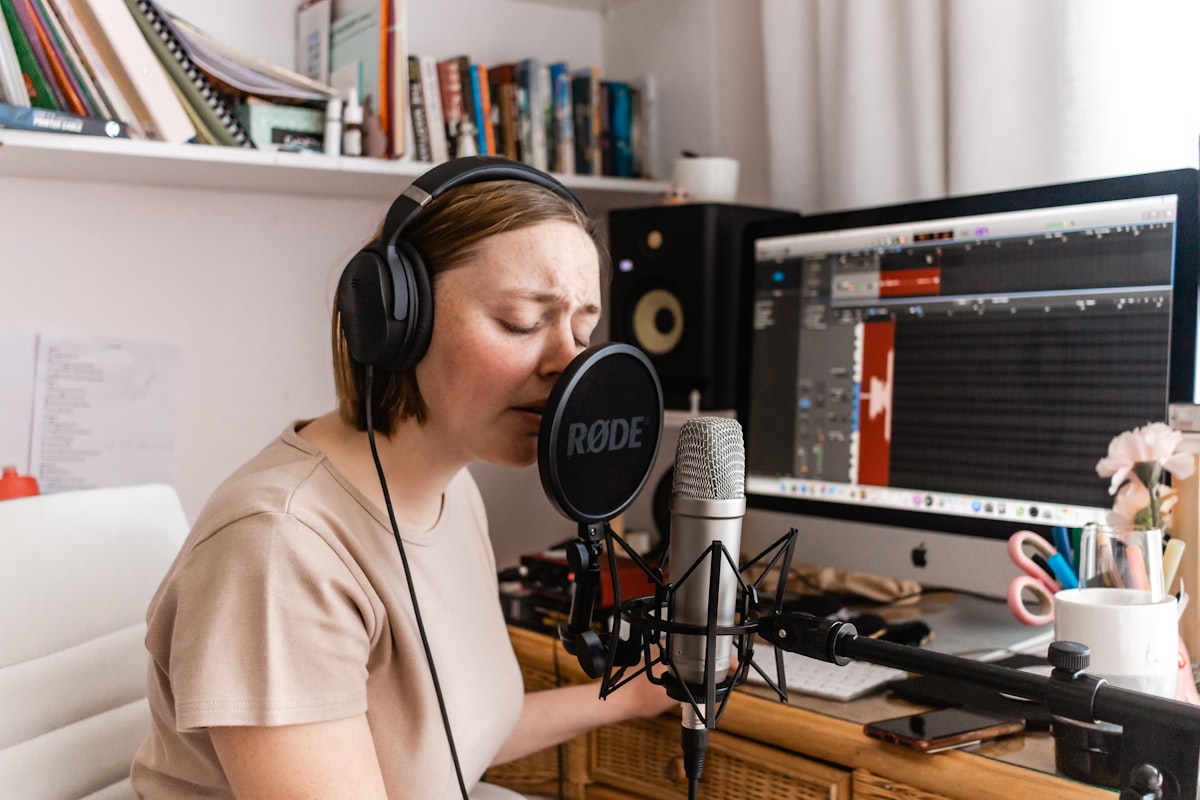
4. Set up Your Microphone
Setting up your microphone is another important detail. The microphone should be facing a wall that has acoustic panels. In other words, your back should be towards the wall with the most acoustic treatment.
This is because most of the sound is picked up from the front of the microphone, which faces you and the wall behind you. If the wall behind you has sound bouncing around, you are likely to get echoes in the recording.
In terms of where to setup your microphone, every room is a little bit different. Run a test with the microphone in the middle of the room and one with it in the corner of the room. Ultimately it will come down to what works for you and whether you're happy with how it sound.
You should also consider using a pop filter. This will take away any issues relating to plosives, sibilance, etc. These are harsh noises that are captured by the microphone and amplified, such as 't' 'sh', 'f', 'p', etc. A pop filter will help tone down these harsh noises.
5. Run a Test
Make sure you run a test before you record your song. Singing through an entire song with passion and energy can be tiring. You don't want to put yourself through that only to realise that you really do need a pop filter or that you need to adjust your acoustic panels.
You test doesn't have to be long, but should included all the harsh sounds you can think of. You should also include a clap so that you can listen for echoes in the room. In your test you should be analysing the following.
- Your distance from the microphone
- Harsh sounds ('p', 'sh', 't', 'f', etc.)
- Singing softly vs singing loudly
- The sound of a clap (for echoes)
- Muffling (which indicates bass frequencies need to be treated)
- Overall sound quality/tone
Once you have tried a test or two and are happy with the sound, you are set to start recording.
6. Record the Song Multiple Times
You should record your song 3-5 times in seperate tracks within your DAW. Any more than that and you will find that your voice loses its 'spark'. You will be tired and possibly feeling a bit over it.
In saying that, you still want to have at least the three recordings to work with at the end. Having multiple recordings will allow you to take the best parts of each, creating the perfect final recording.
You will be able to snip and delete parts in your DAW, or even identify areas where you need to re-record a small section.
I don't recommend doing any 'practice runs' before you record. This is wasting energy and you also might sing certain parts better the first time.
7. Post Process with DAW
Post-processing is your best friend. As long as you have properly treated your room and have semi-decent equipment, you will have a beautiful blank canvas to work with.
Post-processing on your DAW program alters your vocals to add effects and mix them into the backing track. Below is a list of a few things you can do with your vocals in a DAW (keep in mind that every program is different).
- Ambience (reverb or vocal delay)
- Pitch correction
- Distortion
- Gain control
- Compression
- Tone adjustment
These are just a few of the basics in post-processing your voice. But hopefully you can see why you want to start with a blank canvas with no natural reverb or noise. This is really where your creative preferences come into play, so don't be afraid to play around with different settings.
Once you are happy with your recording (including the backing track), you are ready to export the song and share it with the world. Good luck!